Part 1: Validate your IP Address on the 'My Account' panel
Part 2: Change your Playstation 4 settings
Before you start: Please write down your current DNS addresses before you change your DNS configurations. You should take note of these addresses in case that you need to get back to your original settings. If your original configuration were set to “Automatic”, just change your DNS settings back to “Automatic” in order to get back to your original settings.
1. Go to “Settings” (3).

2. Select “Network” (4).
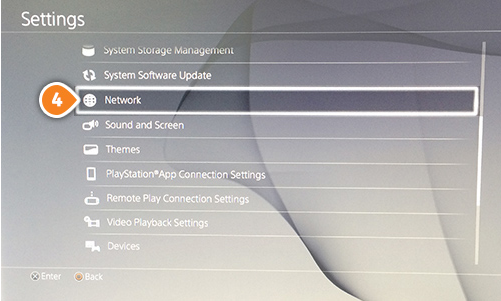
3. Choose “Set up Internet Connection” (5).
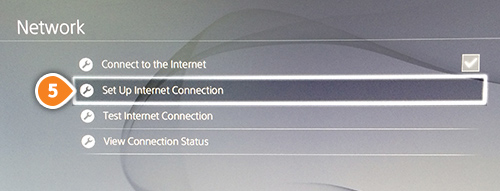
4. Now choose your connection, “Use Wi-Fi” (6) or “Use Lan Cable”.

5. Go to “Custom” (7).

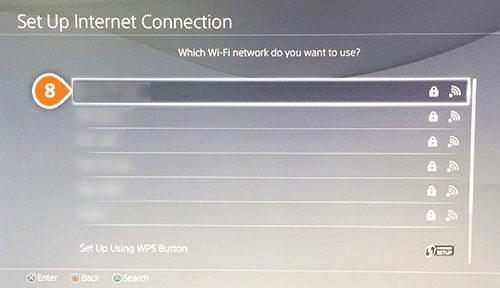
6. Select your Wi-Fi Network (8). Skip this step if you want to connect to “Lan Cable”.
7. In the “IP Address Settings” select “Manual” (9).
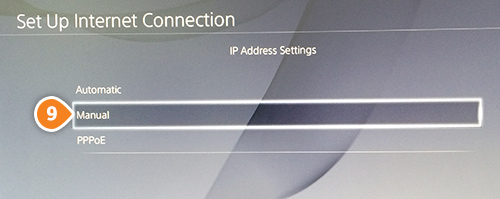
8. Enter the following into the empty fields (10):
IP Address – Enter the first three groups of numbers of your Internal IP address.
For example: if your internal IP address is “192.168.10.3″, enter “192.168.10.100”.
To find your internal IP address visit your router setup page or
IP-API.com.
Subnet Mask - check your router setup page. Normally it would be 255.255.255.0
Default Gateway - Enter the internal IP address of your router.
Enter Primary and Secondary Keenow DNS Addresses:
Primary DNS Server:
62.210.122.43
Secondary DNS Server:
157.55.83.218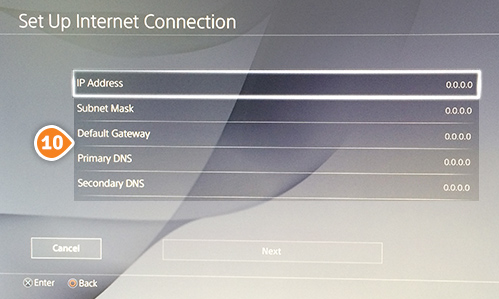
9. Choose “Automatic” (11) for MTU settings.

10. Choose “Do Not Use” (12) on Proxy server screen.

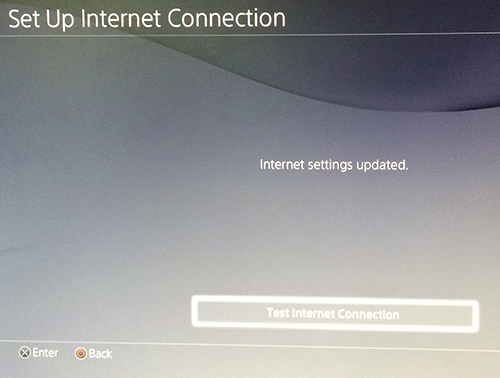
11. Now you should see “Internet settings updated” message.
12. Restart your PS4 and you are done.


